Frosted Lens Light
- Home
- Frosted Lens Light

Our Approach to Outdoor Excellence
From elegant paver driveways and inviting patios to lush turf, stylish decks, and integrated lighting, we specialize in designing and building beautiful outdoor environments for lasting enjoyment. Embark on transforming your space within a week!

Paver Light Basics
INTEGRATED LED
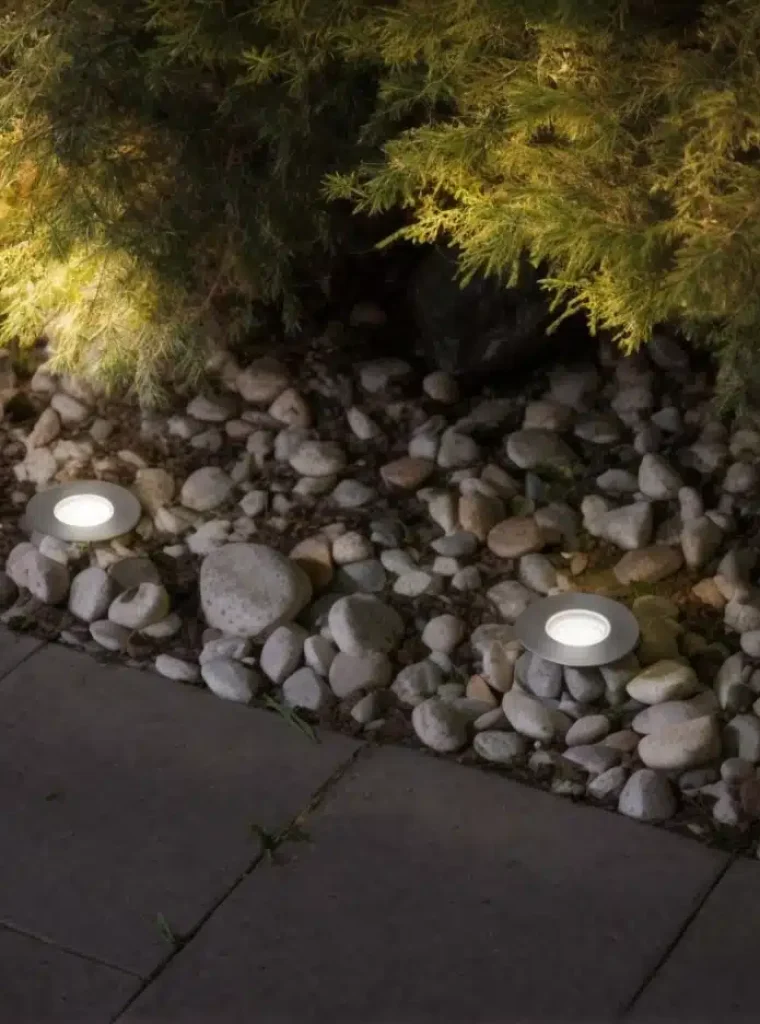
LEDs are key in paver lighting. They last long and need little upkeep. You can pick a light warmth to create a mood. These lights also dim, adding versatility.
For example, cool white LEDs give a crisp ambiance for modern paths. Warm whites offer cozy glows for relaxed settings.
MATERIALS DIMENSIONS
Choose tough materials for outdoor use. Lights should match pavers in size for neatness. Look for finishes that resist weather to avoid rust.
A good fit is crucial. If your pavers measure six inches, get lights close to this size for harmony.
PHOTOMETRIC INSIGHTS
Check the beam spread of lights to cover ground well. Lux levels tell you if there’s enough light to see clearly by nightfall. Photometric studies help plan where each light should go.
Imagine setting up lighting without planning: dark spots or blinding glare could result! Proper photometrics prevent these issues, ensuring smooth lighting across your path or patio.

Installation Guide
PREPARATION STEPS
Before installing your in-ground or cored into pavers frosted lens lights, proper preparation is crucial. Begin by marking the spots where each light will go. Ensure they are evenly spaced to achieve a balanced look. Next, modify the pavers to fit the lights by drilling or coring holes according to the size specifications of your lighting fixtures.
After modifying the pavers, clean out any debris from coring before proceeding with installation. This step guarantees that your lighting sits flush and secure within their designated spaces.
INSTALLATION PROCEDURE
The actual installation starts with threading electrical wires through pre-drilled conduits if available, or laying them carefully beneath the pavers. Connect these wires to each light fixture following manufacturer instructions for safe wiring practices.
Carefully place each frosted lens light into its respective hole in the paving stone. Apply gentle pressure until it’s snugly fitted into place without force that could damage either the light or paver.
FINISHING TOUCHES
For a professional finish, ensure all installed lights are level and aligned with one another. Fill gaps around each fixture with sand or dust to help stabilize them further within their settings. Lastly, wipe down every frosted lens removing fingerprints and smudges for a pristine appearance upon first illumination.
Design Benefits
CURB APPEAL
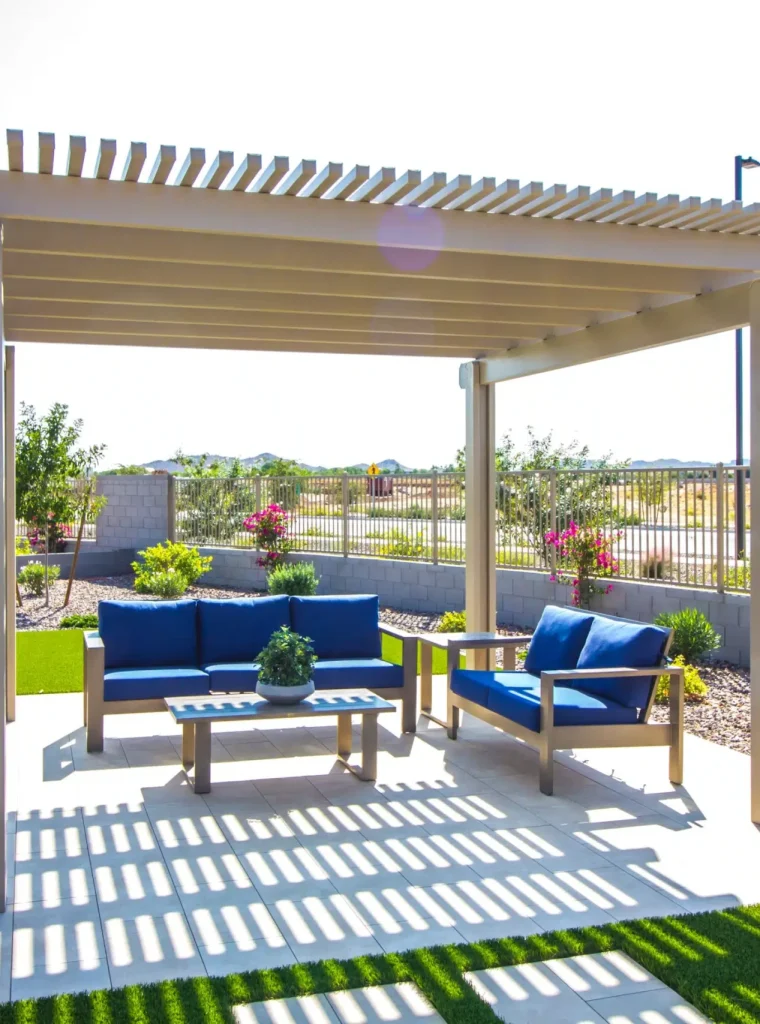
Boost your home’s curb appeal with frosted lens lights. Strategically placed, they spotlight your home’s beauty and create inviting walkways. Illuminate architectural details like stonework, walls, or columns for distinction.
DRIVEWAY ILLUMINATION
A well-lit driveway is key for safety. Use in-ground or cored frosted lens lights for clear boundaries, with a consistent pattern of soft light.
CHOOSING PAVER LIGHTS
Selection Factors
Consider load-bearing capacity, climate resistance, and ease of maintenance when choosing frosted lens lights.
LED Advantages
LED paver lights save energy, have a longer lifespan, and emit minimal heat, making them safe and cost-effective.
IN-GROUND LED FEATURES
Energy Efficiency
LED lights use less power and are cost-effective. Solar-powered options further reduce electricity costs.
Glare-Free Illumination
Frosted lenses provide soft, even light. Install lights at angles or recess them for glare-free illumination.
ADDING LIGHTS TO PAVERS
Circle Cored Kit
Circle cored kits simplify installation, fitting various paver sizes and including all necessary components.
Illuminated Pavers
Integrate lights into precast or custom pavers for unique designs and personalization, with durability and protection.
ELECTRICAL AND SAFETY ASPECTS
Electrical Considerations
Adhere to local electrical codes and ensure waterproof connections. For complex setups, consult a licensed electrician.
Certifications Importance
Choose lights with safety certifications like UL or ETL for reliability and warranty coverage.
CONCLUSION
Visual Appeal
Outdoor spaces gain sophistication with frosted lens lights, enhancing beauty and creating inviting atmospheres.
Practical Benefits
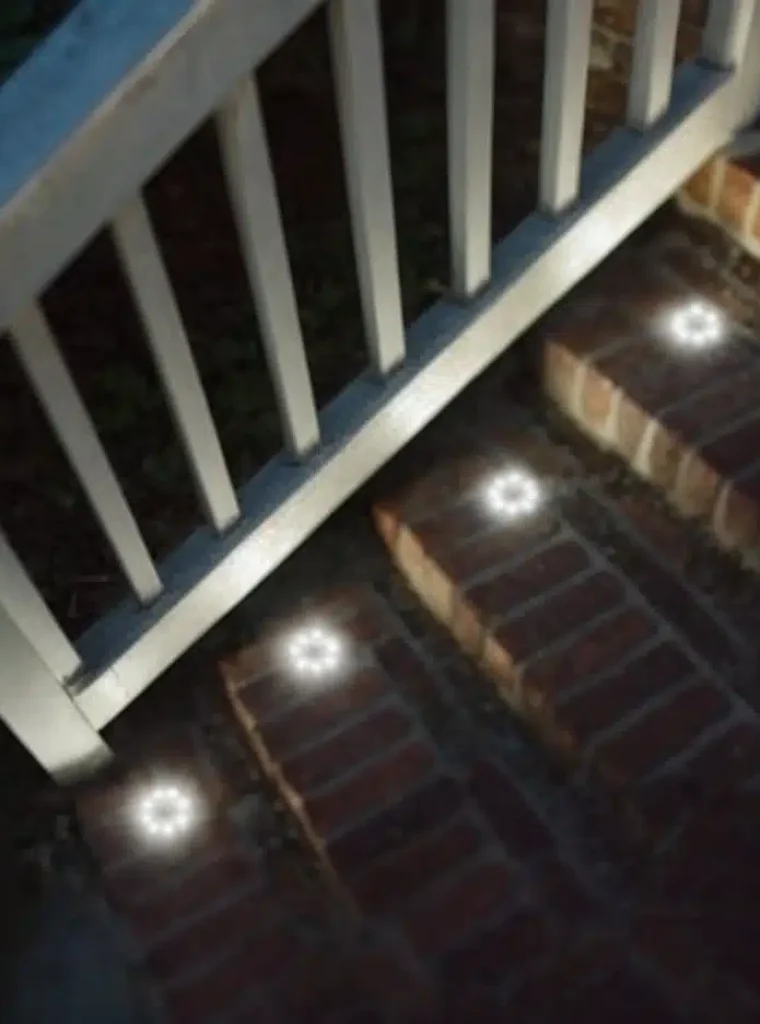
These lights improve safety with well-lit walkways and clear boundary markings, guiding guests safely around your property.
Summary
Exploring the world of paver lights for your Travertine Pavers Pool Deck, you’ve uncovered a variety of options that can revolutionize your outdoor decking space. From the nitty-gritty of installation to the dazzling design benefits, we’ve journeyed through the essentials of choosing the right in-ground or cored lights with frosted lenses. You’ve seen how LED features enhance your pavers and grasped the importance of electrical safety.
Now, imagine stepping out into your yard as dusk falls—the soft glow from your new lights guiding you through a serene evening. It’s not just about brightening paths; it’s about crafting an ambiance that whispers elegance. Ready to take the plunge? Dive into our selection of BBQ Island Design options and light up your landscape with style. Remember, it’s not just about seeing where you’re going—it’s about enjoying the journey there. So go ahead, make your outdoor space shine!
Our Success Model in Steps
Lifetime Outdoor Living specializes in creating exceptional, long-lasting outdoor paving solutions, customizing each project to our clients’ specific desires and requirements. Our commitment to quality and customer satisfaction drives our process from the initial consultation through to the installation and beyond, ensuring every space we transform becomes a testament to our dedication and expertise.
Frequently Asked Questions
VERSATILITY OF USE
Your astro turf putting green can be more than just a golfer’s retreat. Design spaces that serve multiple purposes. Imagine cozy seating areas where friends gather, or fire pits that warm cool evenings. These additions transform your space into a versatile outdoor haven.
Think about the little ones too. You want them to play safely around the putting green. Choose maintenance routines free from harsh chemicals. This ensures their play area is as safe as it is fun.
Mini-tournaments or casual putt-around sessions make for great social gatherings. Your putting green becomes the centerpiece of entertainment, engaging guests in friendly competition.
TRANSITIONING TO SYNTHETIC
Before laying down synthetic turf, proper soil preparation is crucial. It helps prevent settling issues later on, so take the time to do it right.
Learn about environmental benefits such as reduced water usage with synthetic grass compared to natural lawns. It’s not only good for your wallet but also kinder to our planet.
Consider long-term savings too when switching from real grass: less mowing, no watering, and zero fertilizing mean more money stays in your pocket over time.

